
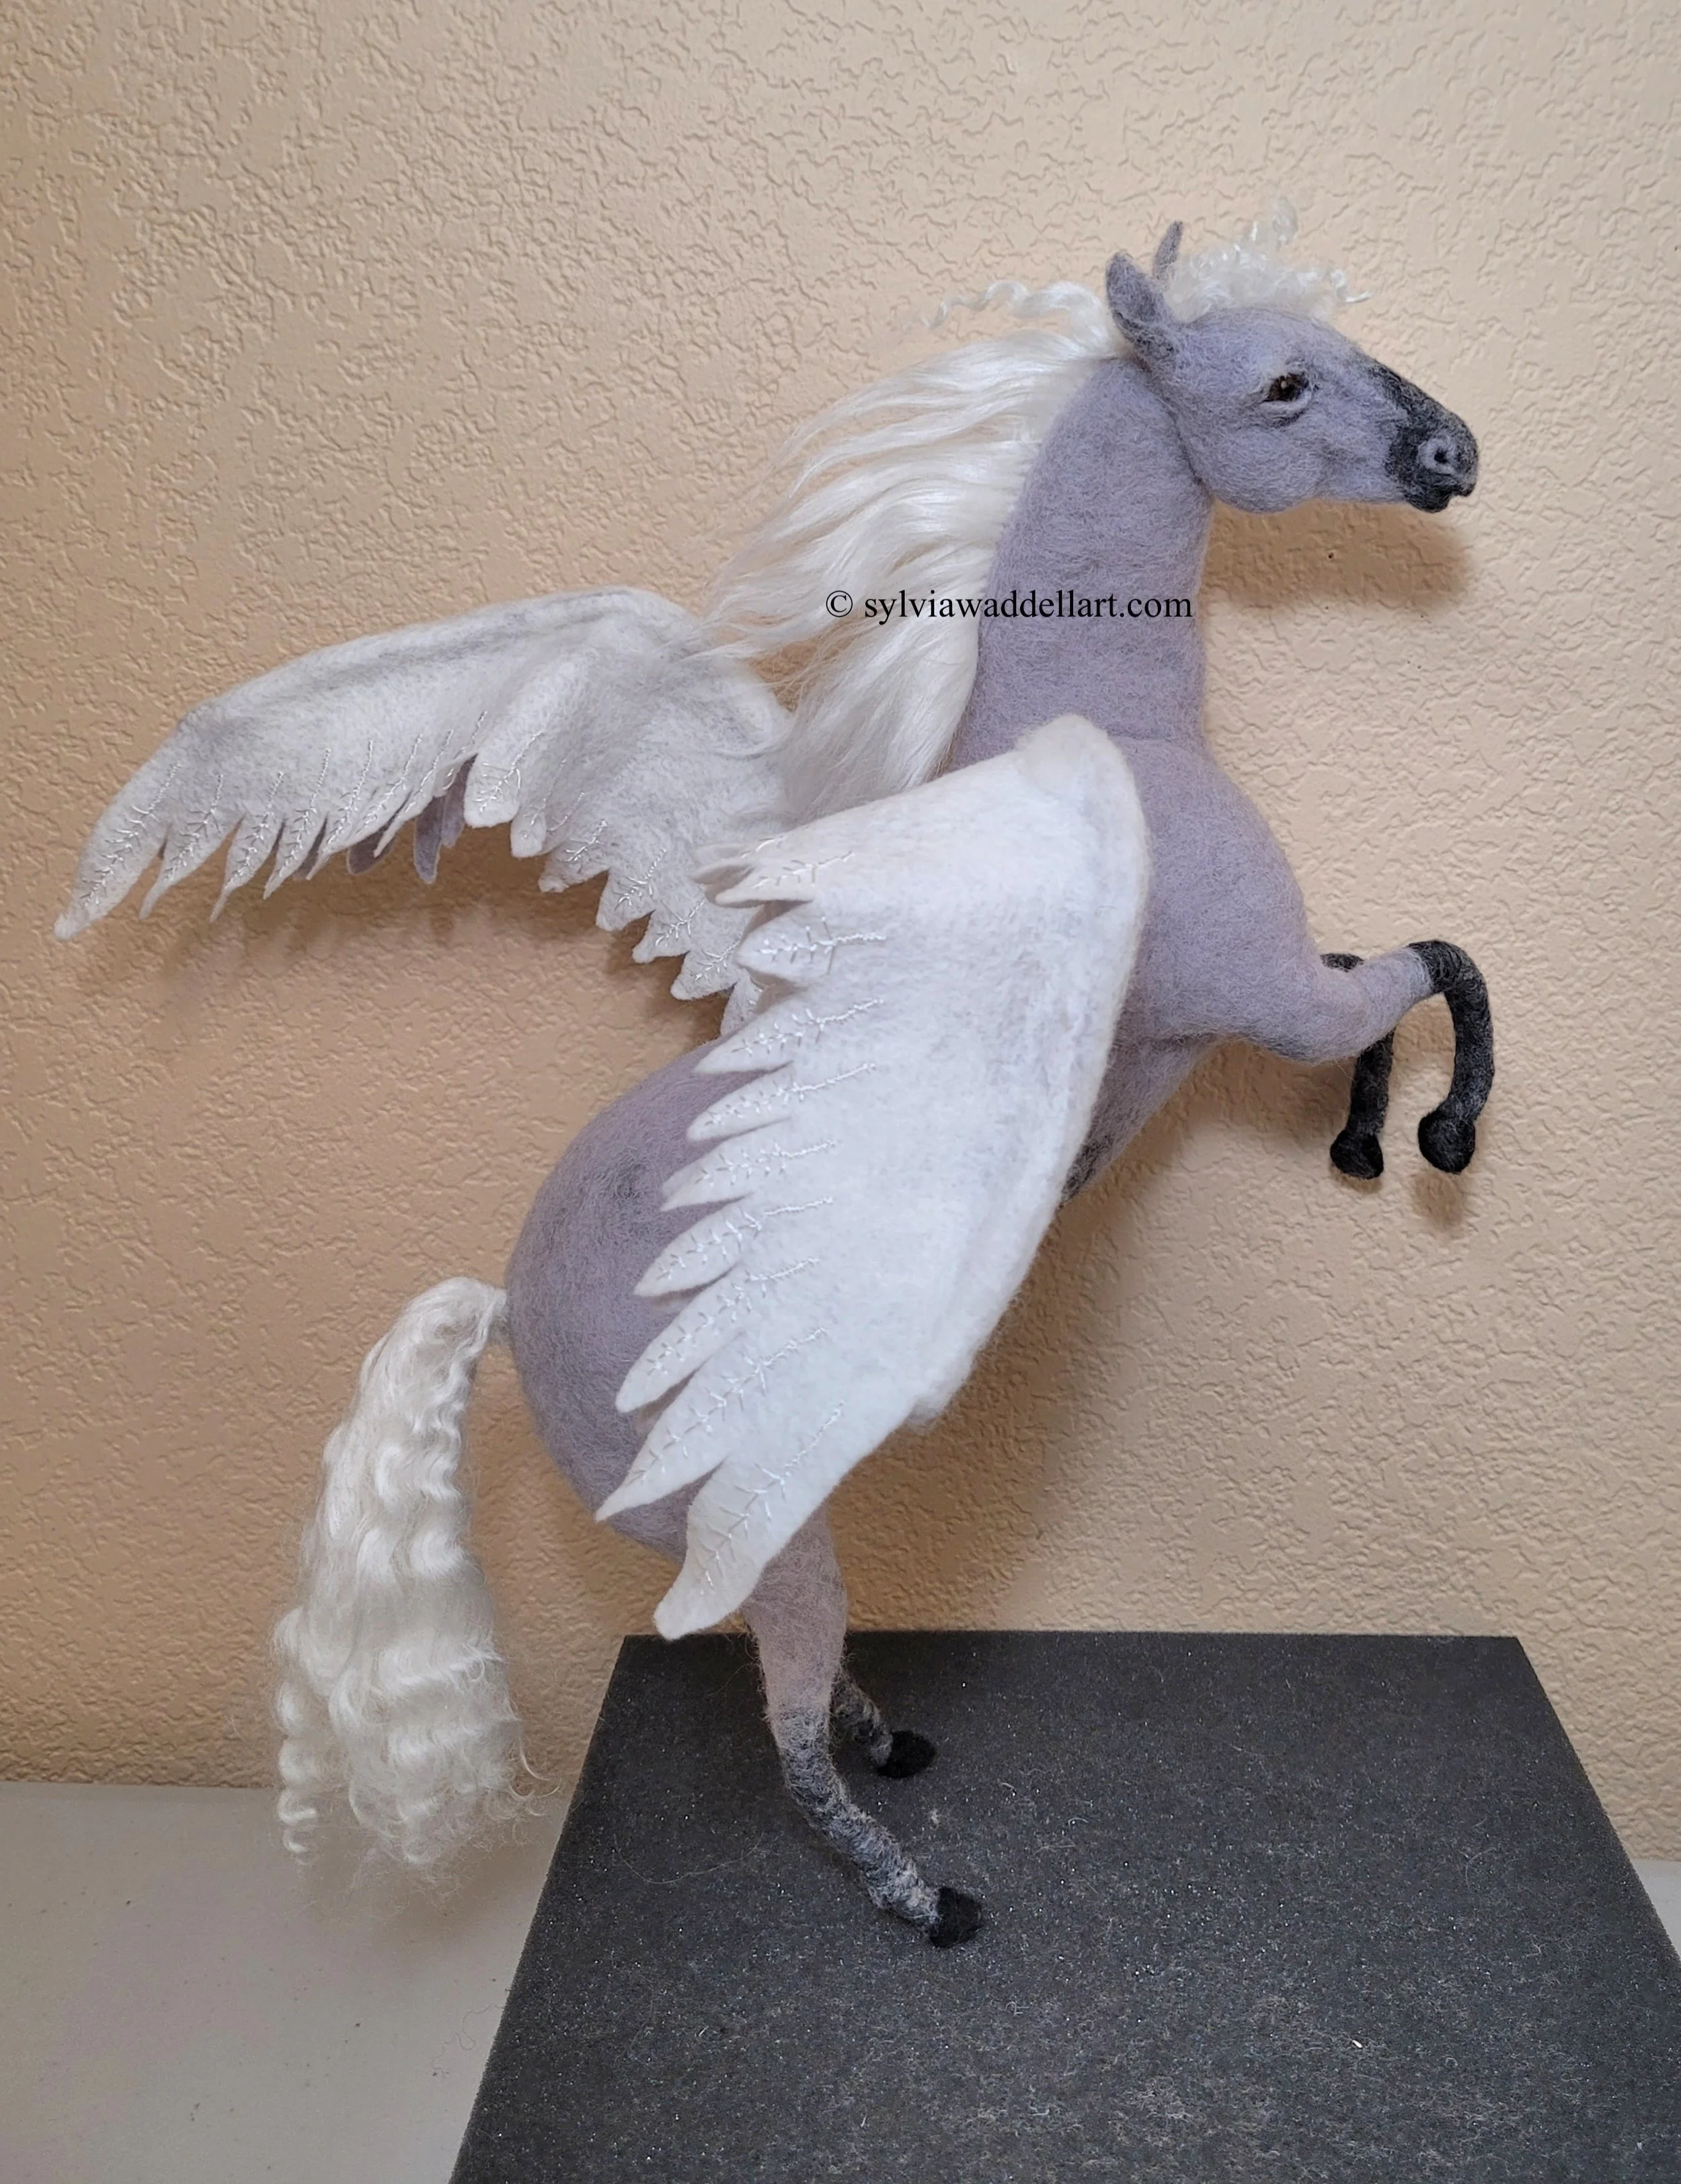
Finally my fantasy Pegasus horse is finished and I’m rather pleased with her. Now all she needs is a grand adventure - already in the works, of course!

Here’s how I made the wings. Laying out thin layers of Merino wool to start wet felting some fabric. When you have the layers of wool ready they are wetted with soap and water and gently agitated until they form a sold fabric. It takes a little while.

I made two pieces of thin felt, one using grey and white wool, the other just with white. I had intended just to use the grey fabric, but on its own it was not substantial enough, so I put the grey underneath and the white on top.

I attached the felt to the armature, first with stitching, then some needle felting.

The wings looked pretty good - but I felt they needed something more.

While I thought about the “something more” for the wings I got to the really fun part of adding the mane and tail. I have some white ‘fur’ wool which I wrapped around a wooden skewer and wetted. When it was dry the wool comes off the stick wavy or curly. I used some of this for the tail and part of the mane. I used a lot of straight ‘fur’ for the mane too. Then added some cute curly kid mohair locks to tumble down the front of the head.

I eventually decided a little embroidery on the wings might make them more feather-like. I bought a selection of metallic threads and embroidery floss and after doing some samples I plumped for using the shiny white floss. The metallic threads were a bear to work with so I was very happy that the white floss worked so well. I’m not a great needlewoman and I haven’t done any embroidery for many, many, years so it took me a long time to do the embellishment. I think it was worth it though, as it improves the look of the wings.
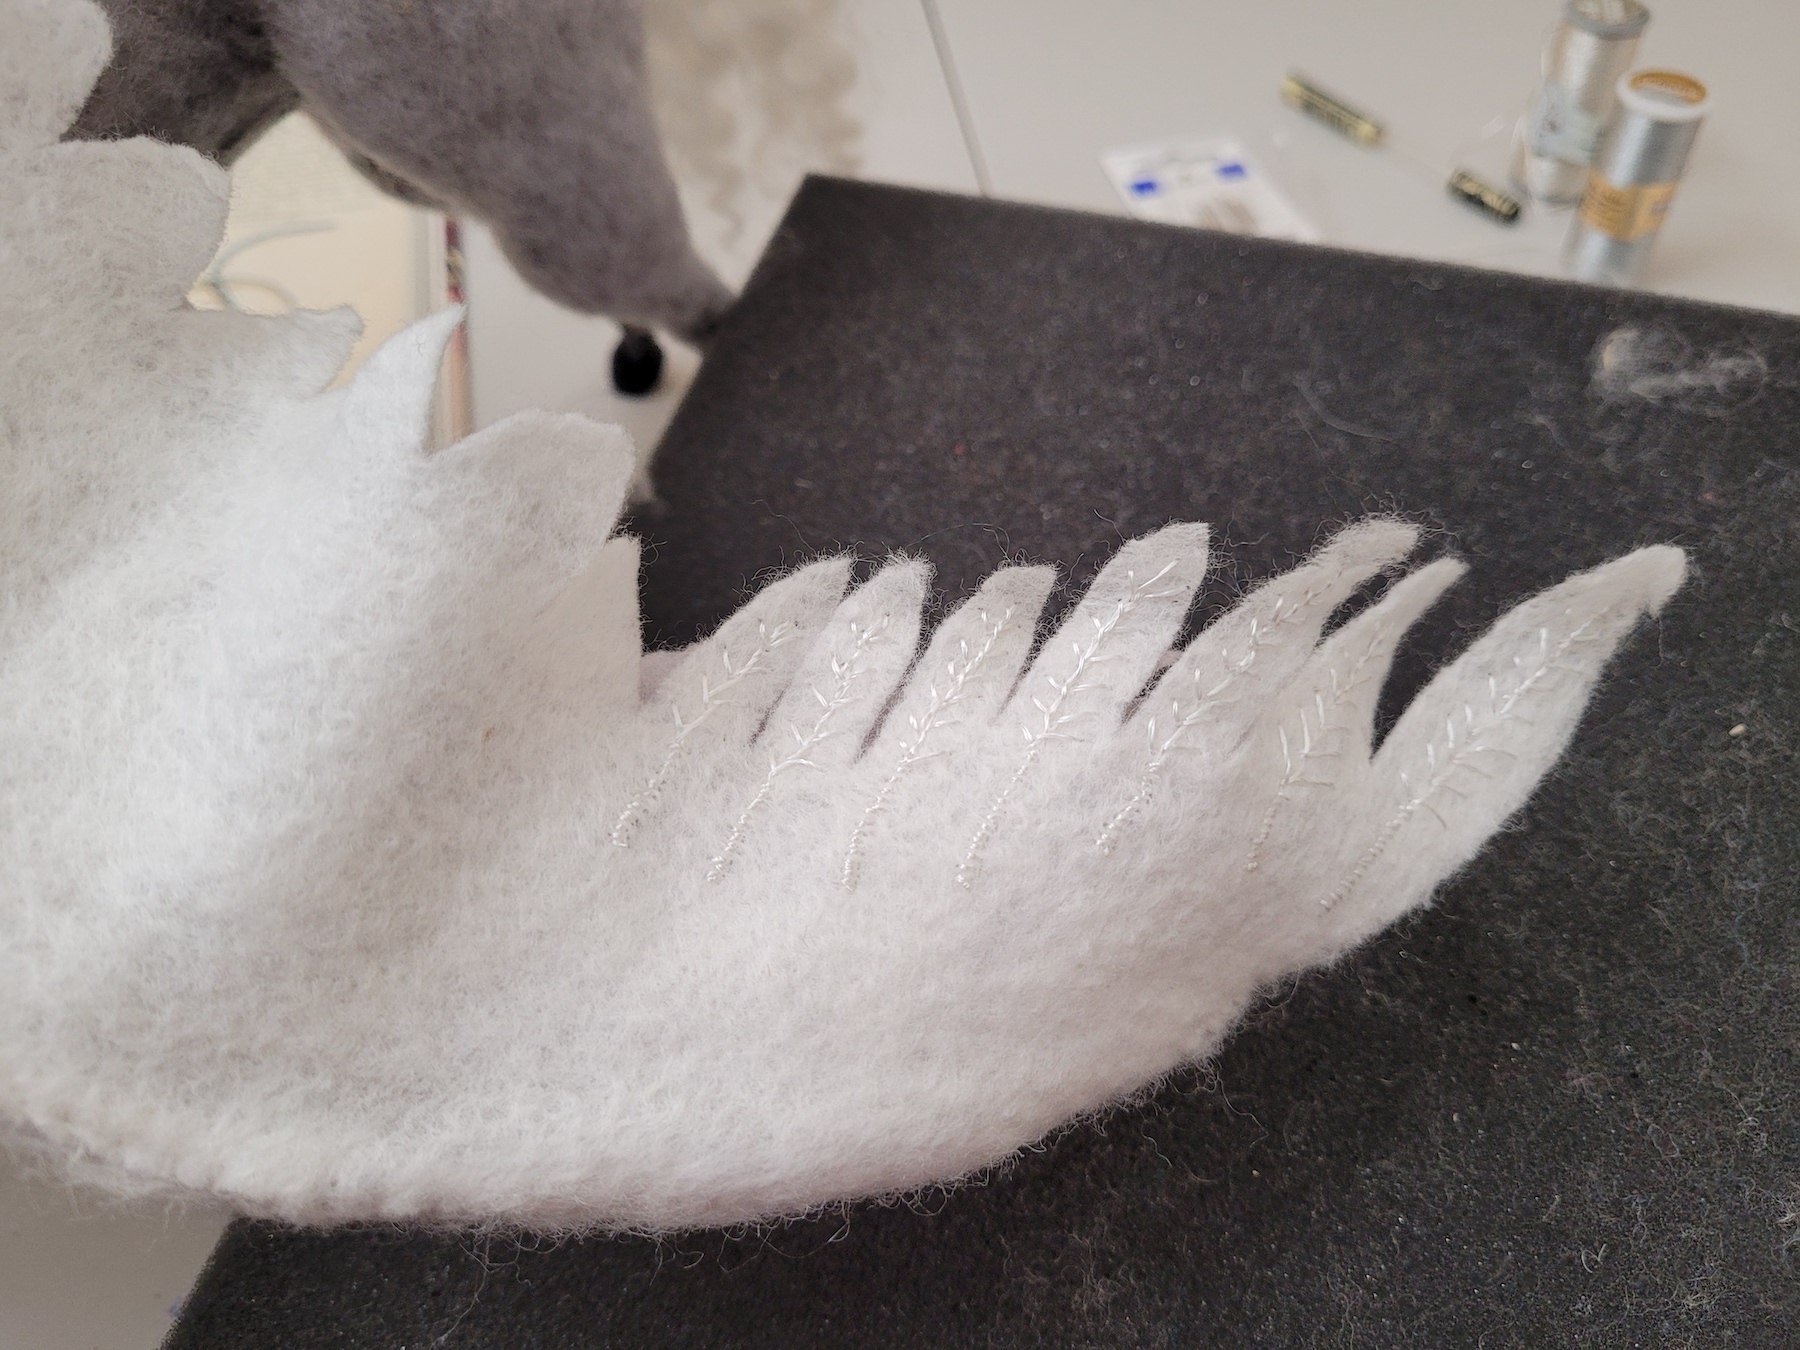
Adding embroidery to the white upper wings.

Another embellishment was suggested to me by my daughter-in-law who wanted to know if I was giving the Pegasus eyelashes. I do love a challenge, so I figured that out…I want to say… in the blink of an eye! ;) I used some of the curly ‘fur’ cut down to size and needle felted above the eyes.
I did end up removing the hooves that I first did as they were a little clumsy looking. I adjusted the feet and made smaller hooves. There was more needling to do to make the surface of the body and legs cohesive. I don’t finish my characters to a very hard surface because I want to be able to pose them, so I just needle them until the fluff doesn’t come off easily but they are still flexible. This project took me about four weeks from concept to finish - not working every day, but there were a lot of hours in there all the same!
Wire, wool, sculpture. Needle felting and wet felting. Nose to tail 16” Height at ears 13”